
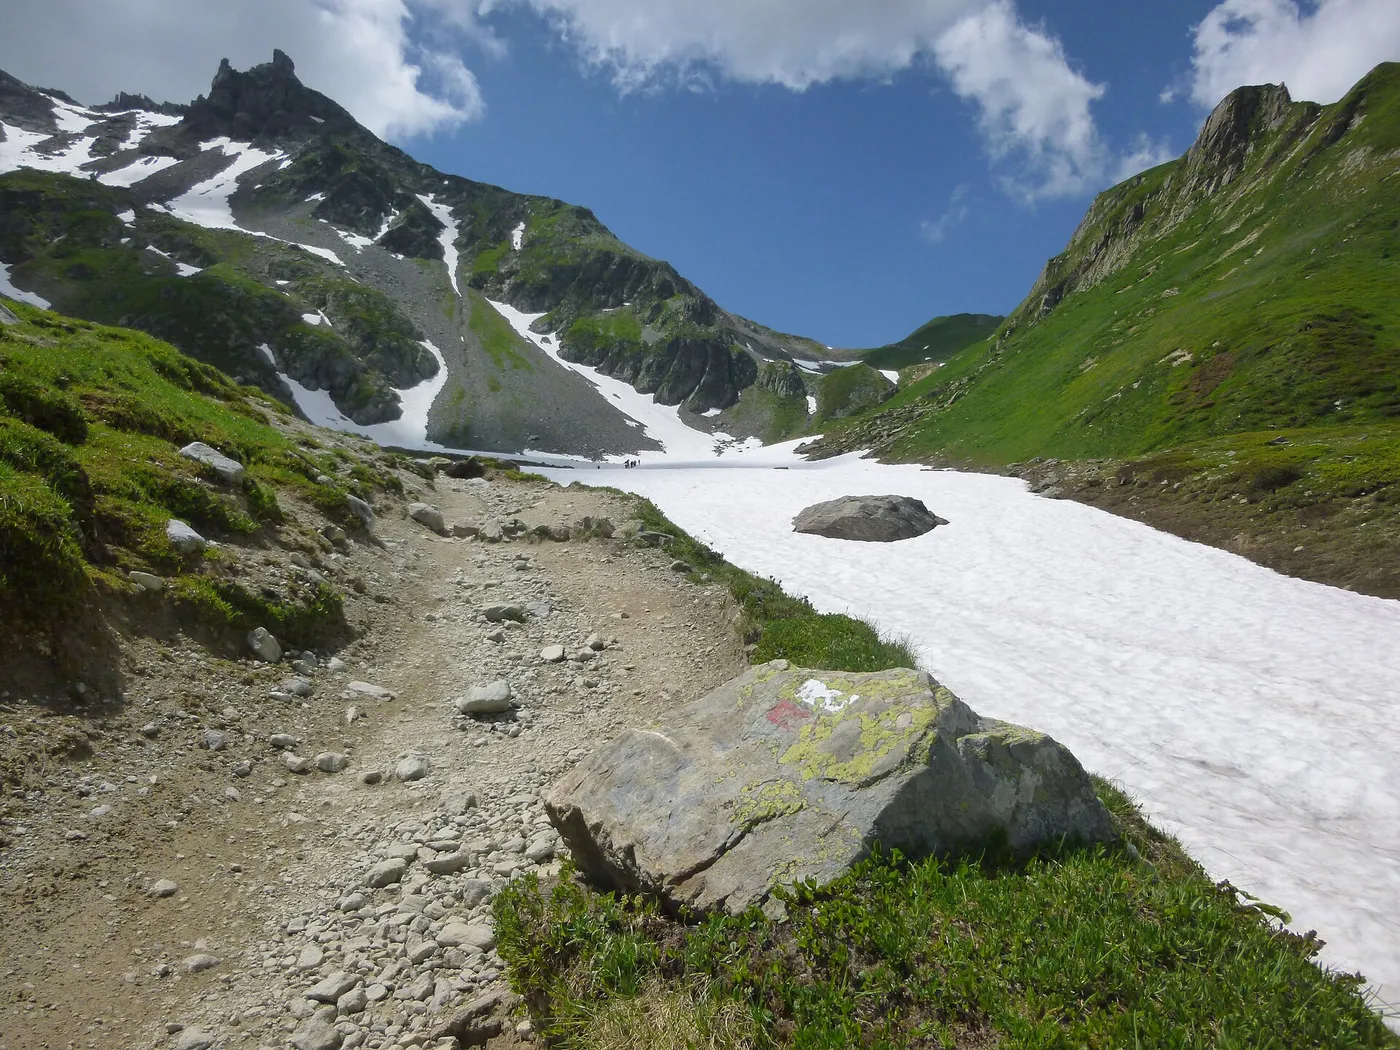
The Tour du Mont Blanc is more than just a great Alpine classic: it is a lively crossing, both challenging and accessible, linking inhabited valleys, panoramic passes and mountain huts where you share a table with hikers from all over. Covering around 160 to 170 km and nearly 10,000 m of cumulative elevation gain, the route forms a loop around the Mont Blanc massif, passing through France, Italy and Switzerland. Most hikers complete it in 7 to 12 days, depending on their pace, fitness level and chosen logistics. In 2026, the TMB’s popularity shows no sign of waning: mountain huts are often fully booked, trails are very busy in the height of summer, and the weather makes adaptability more important than ever.
To make this guide practical, we’ll follow a realistic preparation plan: that of Claire and Mehdi, two friends who want to set off without a guide but with a methodical approach. She hikes regularly, while he is new to multi-day treks. They’re looking for a reliable plan, straightforward stages and solutions in case things don’t go as expected. From choosing a direction and booking accommodation to dealing with thunderstorms, water, safety and the occasional mishap (such as bedbugs), the aim is simple: to turn a “big project” into a well-planned adventure without losing the magic of being out on the trail.
Tour du Mont Blanc: understanding the route, duration and best season
The GR Tour du Mont Blanc is a waymarked Alpine circuit that crosses three countries. It is often associated with a “classic” itinerary of around 10 days, but in reality, the schedule is more flexible: some hikers aim to complete it in 7 to 8 days (at a sporty pace), while others prefer 11 to 12 days to enjoy the villages, breaks and wilder alternative routes. In any case, the experience is defined by its variety: alpine pastures, forests, moraines, scree slopes, inhabited valleys and mountain passes. This constant contrast explains why the TMB remains engaging day after day.
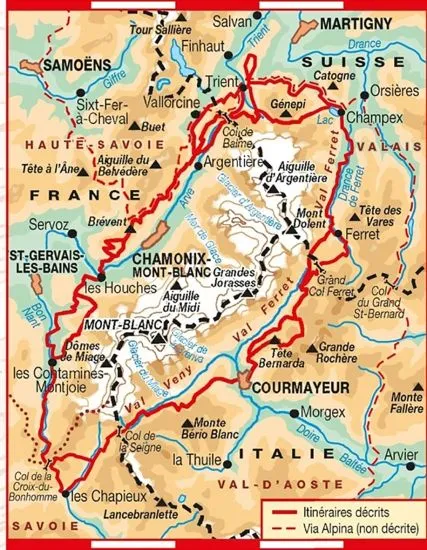
Claire and Mehdi are deciding between 9 and 10 days. Their main consideration isn’t performance: it’s their ability to manage several consecutive days of hiking, carry a backpack and stay alert on the descents. That’s a good way to look at it: on the TMB, the challenge is less “technical” than “cumulative”. You may feel strong in the morning, then realize at 4 p.m. that repeated elevation gain is taking its toll on your thighs, especially if you haven’t paced yourself well.
Mid-June to mid-September: the ideal window, but conditions vary
The most favourable period is generally from mid-June to mid-September, when mountain huts are open and the passes are more accessible. However, conditions can vary drastically from week to week. Early June can still bring snow patches on high-altitude sections, with very real consequences: long slides, reduced visibility and additional mental fatigue. In these conditions, your equipment and skills need to be up to the task: stiffer boots, sometimes crampons and an ice axe for exposed sections, and stricter risk management. Trail-running shoes, which are great on dry ground, are unsuitable on hard snow when crossing mountain passes.
By contrast, July and August generally bring milder temperatures and a well-marked trail, although snow patches may remain. The downside is the crowds: many hikers set off from Les Houches and walk in an anticlockwise direction. To find some peace and quiet without changing your dates, a simple strategy is to hike clockwise: you’ll then meet the main flow around the pass at lunchtime, and much of the day will be quieter.
In September, the atmosphere changes. Mornings are chilly, the first snowfall may return, and some water sources become less reliable. Mountain hut staff may be coming off a demanding few months: service can be more curt, though that doesn’t take away from the charm of the places. An “Indian summer” is often a good bet, but you need to be ready to adapt at the last minute.
Access, starting point and options for adapting your adventure
The most common starting point is Les Houches, which is easily reached from the Chamonix Valley. Since the route is a loop, you can return to the same place, simplifying logistics by car or train. If you’re travelling via Geneva, it’s worth allowing some extra time: a missed connection can throw off a first night booked well in advance. To plan your onward journey and perhaps add a visit before setting off, a detour to Geneva’s must-see attractions can also serve as a buffer before heading into the mountains.
Finally, the TMB lends itself to adjustments: valley buses, occasional cable cars, taxis to skip a less interesting section or avoid a thunderstorm. This flexibility doesn’t take away from the experience; it often makes it more sustainable by preventing an unexpected setback from turning into a failure. The real luxury on the TMB is knowing how to change your plan without losing your way.
💡 A hiker’s tip: Shorten or vary your stage with the Tramway du Mont-Blanc If you’re setting off on the Tour du Mont-Blanc, the region’s iconic cog railway can be a valuable ally. By taking the Tramway du Mont-Blanc, you can go directly to Col de la Voza or the Bellevue plateau from the stations at Le Fayet or Saint-Gervais. It’s the ideal option for enjoying a spectacular Alpine alternative, avoiding the tough initial climb from the valley, or simply saving your knees if you start to feel tired early in your trek!
Physical and mental preparation for the Tour du Mont Blanc: endurance, elevation gain and pacing
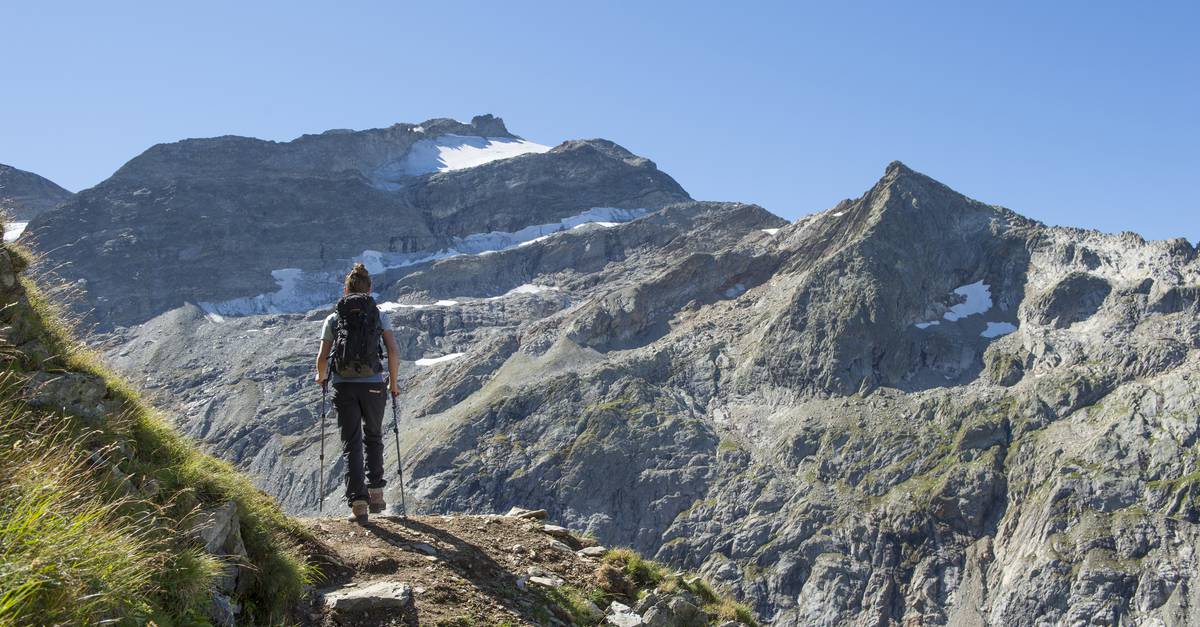
Preparing for the TMB means preparing for a series of days: walking for a long time, climbing, descending, then doing it all again. Being in good physical condition doesn’t mean running fast; it means maintaining a steady pace, minimizing aches and pains, and recovering enough to set off again the next day. Claire already trains on weekends, but Mehdi mostly leads an urban lifestyle. So their plan is simple: build an endurance base, then get their bodies used to elevation gain and carrying a pack.
Ideally, effective preparation should span 8 to 12 weeks: enough time to improve without getting injured, but not so long that you lose motivation. A common mistake is to try to “do a lot” all at once. On the TMB, overuse injuries (knee, Achilles tendon, iliotibial band) cost more than any piece of equipment: they can turn a wonderful trek into a reason to give up.
A realistic training plan: walk, climb and carry a pack
The foundation is regular outings on varied terrain. Two sessions a week are often enough: one short but brisk, the other longer and more relaxed. The goal isn’t to get out of breath; it’s to be able to talk while walking. Then add elevation gain: stairs, hills and local hikes. If you’re in Haute-Savoie before setting off, you can find ideas among walks and hikes in Haute-Savoie to vary the terrain and work on consistency.
From the fourth or fifth week, Claire suggests a rule for Mehdi: hike with a backpack, even if it isn’t loaded as heavily as it will be on the trek. Your back, shoulders and hips will adapt gradually. When you set off with 8 to 10 kg, you’ll be glad you tested the shoulder straps and hip belt beforehand.
Managing your effort over several days: pace as a safety tool
On the TMB, setting off too fast in the morning is a classic mistake. Your cardio can keep up, and so can your ego, but then the day ends with cramps on a steep descent. A solid strategy is to mentally break each stage into sections: a main climb, a plateau, a descent, then the “end of the day”. At each section, ask yourself: “Am I walking at a sustainable pace?” This simple check helps you stay on track.
Breaks should be short and frequent. A 2-minute break to drink and eat every 45 minutes is better than stopping for 25 minutes and cooling down. At the passes, the moderate altitude (often between 2,000 and 2,500 m) doesn’t necessarily cause acute altitude sickness, but some people still experience headaches and nausea. In that case, hydration, a slower pace and stopping are the priorities.
Mental preparation: motivation, weather stress and “Plan B” scenarios
The psychological side is often underestimated. The TMB can bring three glorious days in a row, then deliver rain, fog and wind. Mehdi worries that he “won’t get to see Mont Blanc”. Claire reframes it: “We’re here to hike around a living massif, not to get one perfect photo.” Changing the goal helps reduce frustration.
Managing stress also means having alternative plans: knowing where the valleys are, which buses run and which mountain huts are nearby. Having this information doesn’t make you anxious; quite the opposite, it gives you a sense of control. When your mind is calm, your legs follow. The next step, then, is to get the right equipment so you stay comfortable even when the mountains make things more challenging.
Essential TMB gear: backpack, clothing, safety and comfort for 7 to 12 days
Gear for the Tour du Mont Blanc isn’t about accumulating items: it’s a coherent system designed to deliver three things. First, hike without pain. Second, stay dry and warm despite rapid changes in conditions. And finally, deal with unexpected situations without immediately having to rely on others. Valentin Gevaux, a hiking guide on the route, often sums up the common-sense approach like this: “Equipment won’t prevent mistakes, but it reduces their cost.” Claire and Mehdi realized this after testing their gear on a day hike before booking all their nights.
The basics: boots, backpack and technical layers
Footwear is the number-one priority. Mid-height boots can provide reassurance on descents and protect your feet from knocks, while low-cut shoes are suitable for hikers who are very accustomed to the terrain. What matters is the sole, grip and avoiding blisters. Wearing brand-new boots the day before departure is one of the costliest bad ideas of the season.
Your backpack depends on your accommodation. For mountain huts, a volume of around 35 to 45 L is often enough. For wild camping, you’ll easily need 50–60 L, and the extra weight takes its toll on climbs. Getting the fit right is crucial: the hip belt should support most of the load, not your shoulders. A well-fitted pack almost feels like it isn’t there.
For clothing, the three-layer system is still the most reliable: a breathable base layer, an insulating layer and wind/rain protection. Even in summer, it can be cold at a pass, especially if you’re wet or standing still. Adding a pair of lightweight gloves and a neck gaiter is often more useful than an extra bulky garment.
[otomatic-ai-amazon-products template=”grid_3x” products=”W3siYXNpbiI6IkIwRDRDSzUyV00iLCJ0aXRsZSI6IlBlYWtmcmVhayBSb2FtXHUyMTIyIFdhdGVycHJvb2YgQ2hhdXNzdXJlcyBkZSBUcmVra2luZyBldCBkZSByYW5kb25uXHUwMGU5ZSBUYWlsbGUgYmFzc2VIb21tZSIsInByaWNlIjp7ImFtb3VudCI6NjIsImN1cnJlbmN5IjoiRVVSIn0sInJhdGluZ3MiOm51bGwsInN0YXJzIjpudWxsLCJ0aHVtYm5haWwiOiJodHRwczpcL1wvbS5tZWRpYS1hbWF6b24uY29tXC9pbWFnZXNcL0lcLzcxNHAwUUJweFNMLl9BQ19VTDMyMF8uanBnIiwic3RvcmUiOiJhbWF6b24uZnIifSx7ImFzaW4iOiJCMDlYUjhSNVBSIiwidGl0bGUiOiJIb21tZSBNb2FiIDMgTWlkIEdUWCBCb3R0ZSBkZSByYW5kb25uXHUwMGU5ZSIsInByaWNlIjp7ImFtb3VudCI6MTI5LCJjdXJyZW5jeSI6IkVVUiJ9LCJyYXRpbmdzIjpudWxsLCJzdGFycyI6bnVsbCwidGh1bWJuYWlsIjoiaHR0cHM6XC9cL20ubWVkaWEtYW1hem9uLmNvbVwvaW1hZ2VzXC9JXC83MUdWd3RMMHFqTC5fQUNfVUwzMjBfLmpwZyIsInN0b3JlIjoiYW1hem9uLmZyIn0seyJhc2luIjoiQjBDNDZQMzJaOCIsInRpdGxlIjoiU3BlZWRjcm9zcyBQZWFrIENoYXVzc3VyZXMgZGUgcmFuZG9ublx1MDBlOWUgcG91ciBIb21tZSIsInByaWNlIjp7ImFtb3VudCI6ODcsImN1cnJlbmN5IjoiRVVSIn0sInJhdGluZ3MiOm51bGwsInN0YXJzIjpudWxsLCJ0aHVtYm5haWwiOiJodHRwczpcL1wvbS5tZWRpYS1hbWF6b24uY29tXC9pbWFnZXNcL0lcLzcxckM3cVMxZXdMLl9BQ19VTDMyMF8uanBnIiwic3RvcmUiOiJhbWF6b24uZnIifV0=”]
Safety equipment: rarely used… but sometimes a lifesaver
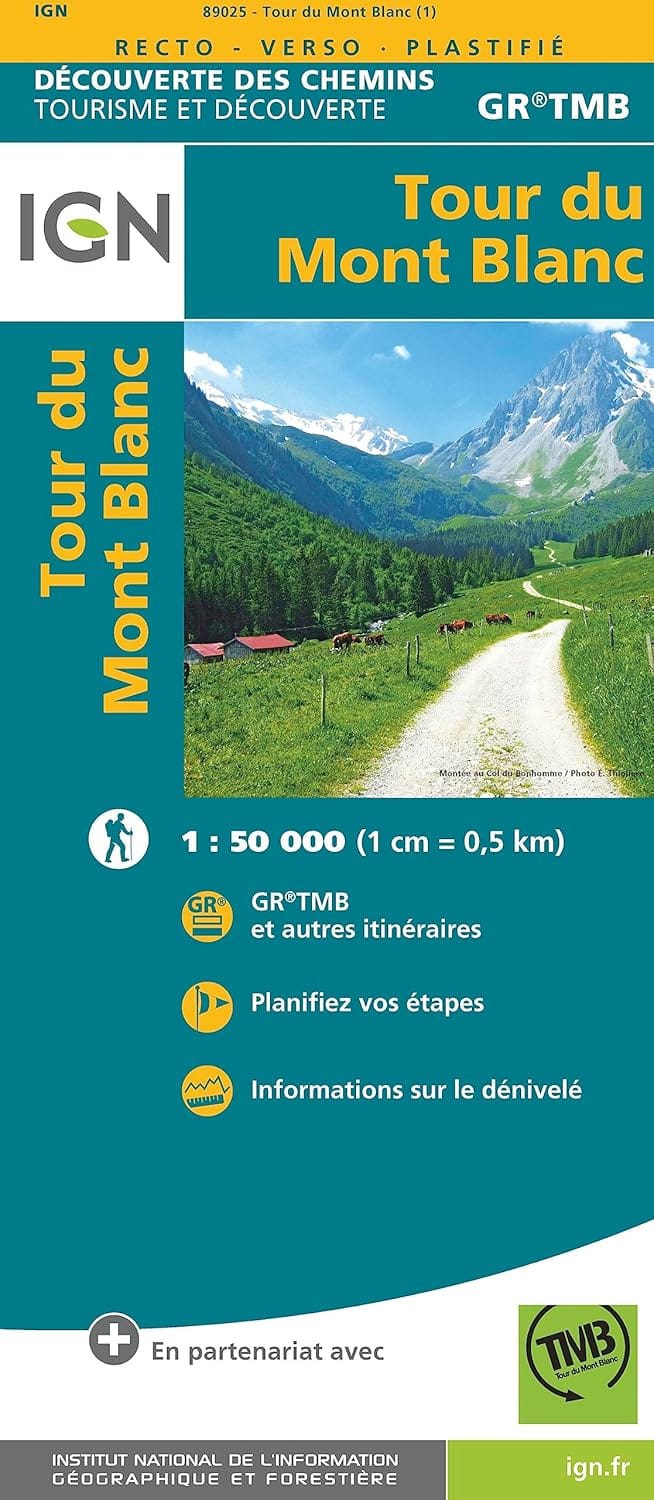
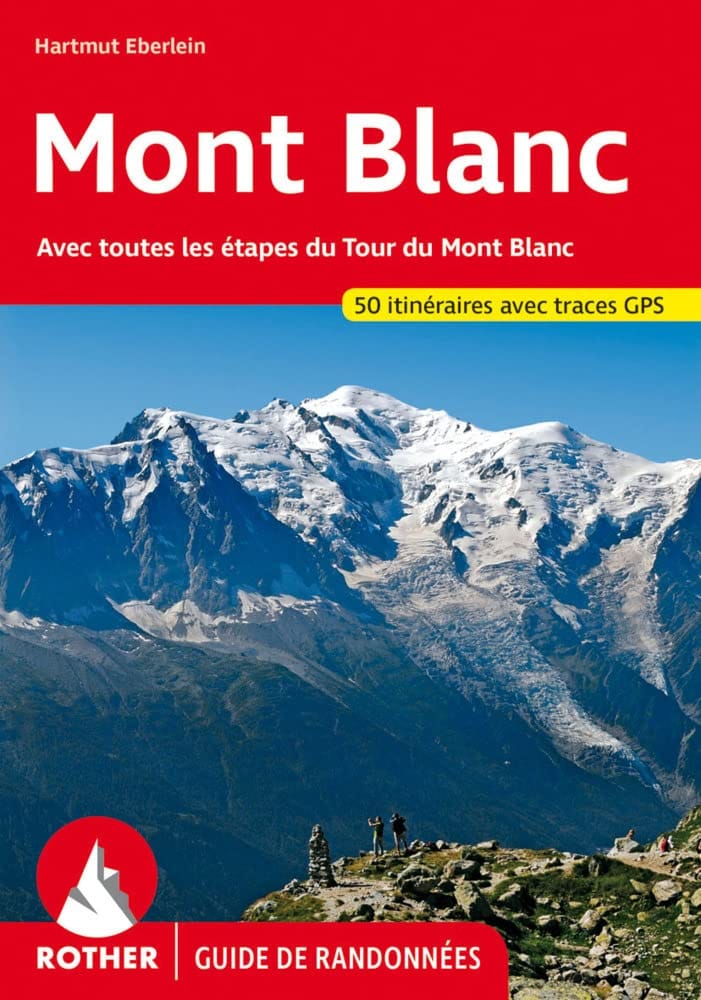
A headlamp makes it possible to set off early to avoid thunderstorms, or to deal with a delay without panicking. A simple but thoughtfully assembled first-aid kit is standard (blister dressings, tape, antiseptic, anti-inflammatory medication if suitable, emergency blanket). Add a map or guidebook, even if the trail is well marked: in fog, an “obvious” path can turn into a maze.
In 2026, many hikers also rely on communication devices: iPhones compatible with satellite emergency calls (on certain recent models), dedicated beacons, or even satellite phones for self-sufficient groups. These aren’t essential, but they can provide peace of mind. Bear in mind that some areas in certain valleys, on the Savoie or Swiss side, have no mobile coverage.
Recommended gear list (mountain huts, no wild camping)
- Hiking boots that have already been broken in + technical socks (2 to 3 pairs)
- 35–45 L backpack + rain cover
- Waterproof jacket (membrane) + lightweight fleece or compact down jacket
- Hiking trousers + shorts (optional) + lightweight warm layer
- Beanie or headband + lightweight gloves + neck gaiter
- Hiking poles (very useful on descents and unstable terrain)
- Water bottle or hydration bladder (1.5–2 L) + filter or purification tablets
- Headlamp + power bank
- First-aid kit + emergency blanket
- Sleeping bag liner for mountain huts + earplugs
To avoid forgetting anything, Claire packs her backpack in “kits” (clothing, toiletries, safety, electronics) in waterproof pouches. This method comes in handy at mountain huts: you can pack up quickly, avoid scattering your belongings and also reduce the risk of bedbugs by keeping your gear better isolated.
Table: simple guidelines for choosing your trekking style
| Option | Average pack weight | Flexibility | Constraints | Typical profile |
|---|---|---|---|---|
| Mountain huts / gîtes (half-board) | 7–10 kg | Moderate | Book early, higher budget | Beginner to experienced hiker looking for comfort |
| Mix of mountain huts + campsites | 9–13 kg | Good | Logistics vary by country and weather | Self-sufficient, flexible hiker |
| Mostly wild camping (where permitted) | 12–18 kg | High (in theory) | Strict regulations, increased fatigue | Experienced, organized, minimalist |
With this gear sorted, the next question naturally arises: where to sleep, how to book and how to eat without carrying unnecessary weight. This is often where the TMB is won… or made more difficult.
Accommodation and resupply on the Tour du Mont Blanc: mountain huts, campsites, bookings and water management
On the TMB, accommodation affects almost everything: your pack weight, daily pace, budget and even your peace of mind when unexpected things happen. Claire and Mehdi opt to stay mainly in mountain huts and gîtes, with one or two nights in the valley to catch their breath. This is the most common choice, particularly because wild camping is tightly regulated or even prohibited in some areas.
Many mountain huts are staffed from mid-June to mid-September. In early June or from mid-September onwards, some establishments close and options become more limited, particularly on the Italian side. Booking is therefore a key consideration. Some establishments even allocate places to tour operators very early, which can give the impression that “everything is fully booked” long in advance.
Book wisely: flexibility, valleys and shuttles
When a key stage is fully booked, giving up isn’t necessarily the answer: you can move a night to the valley. For example, Trient in Switzerland fills up quickly. One alternative is to stay farther away and rejoin the route the next day by shuttle or taxi, such as from Martigny, depending on availability. On the Italian side, buses (often very convenient) regularly connect Val Ferret, Val Veny and Courmayeur, making it possible to work around a lack of places without abandoning the whole loop.
Buses also make it easy to adjust your plans in the Chamonix Valley. This “sustainable mobility” is a safety net: it helps you deal with a forecast thunderstorm, the onset of tendinitis or a weather-related delay. The key is to have a simple backup plan: accommodation in the valley and a way to get down there.
Wild camping: rules by country and good practices
Wild camping doesn’t mean “pitching your tent wherever you want”. In Switzerland, it is prohibited in the valleys along the route. In Italy, it is often subject to strict restrictions, with little tolerance; campsites in certain areas (Trient, Champex, Val Ferret, Val Veny) are therefore practical alternatives. In France, wild camping is often tolerated from evening until morning, subject to specific rules (often around 7 p.m.–9 a.m.) and restrictions in certain nature reserves, where permit systems have been introduced in recent years. Before planning a night in a tent, consulting the guide to good hiking practices can help you follow the rules and avoid mistakes that upset local residents and protected-area managers.
Managing food: energy, simplicity and budget
Most hikers alternate between half-board and buying food in villages. At mountain huts, typical prices are around €50 per person for half-board, €10 for a packed lunch and €10 to €15 for lunch. These figures help you put together a realistic budget. For Claire and Mehdi, the rule is simple: dinner and breakfast at the mountain hut, and a mixed lunch (packed lunch + extras bought in the valley) to keep costs down without going without.
The food in your pack should be lightweight and high in calories: nuts, dried fruit, cheese, bread, energy bars and chocolate. A “treat” can also be a useful mental boost: a square of chocolate at the pass is sometimes all it takes to get going again.
Water on the TMB: plentiful, but not always guaranteed
Water is generally available along the route from fountains, streams and mountain huts. During drier periods, some places ration water, and supplies become less reliable towards the end of summer. A good rule of thumb is to fill up whenever water is available rather than waiting until you’re out. If you drink from streams, collect water upstream, well away from livestock and heavily used areas. To minimize the risks, a filter or purification tablets are simple solutions.
At this point, Claire and Mehdi have their overnight plan and their water and food routine. What they’re looking forward to most is still to come: planning the stages and choosing alternative routes to turn the logistics into a real crossing.
Seeing footage of typical stages helps you visualize the climbs and the width of the trails, but nothing replaces carefully checking distances and elevation gain before setting off.
Tour du Mont Blanc routes and stages: a 10-day itinerary, alternatives and weather backup plans
The TMB can be divided up in many ways, but the 10-day format remains a good balance: gradual enough to enjoy the experience and structured enough to make bookings. The aim here isn’t to prescribe “the” right plan, but to provide a solid framework that you can adjust according to accommodation availability, your fitness and the conditions. Claire and Mehdi choose a 10-day itinerary as their starting point, with two options: shorten a stage if the weather deteriorates, or extend it if an alternative route is feasible.
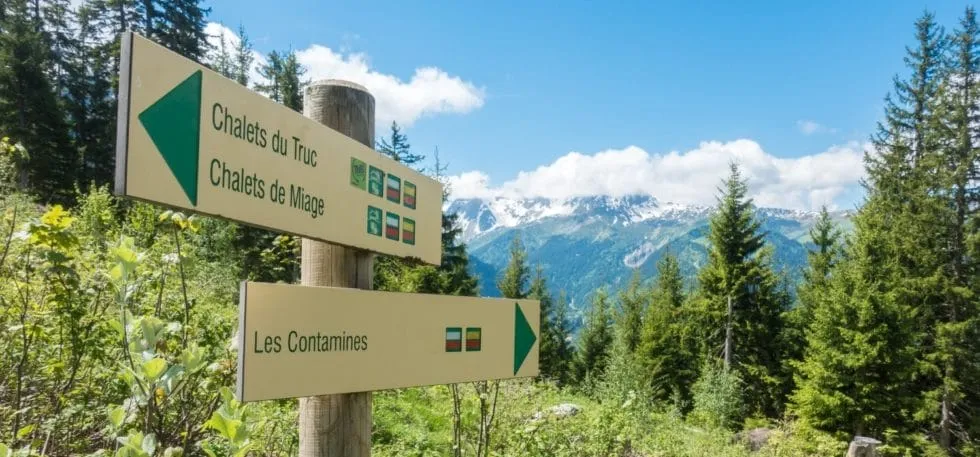
Suggested 10-day itinerary: distances, times and highlights
The times below are estimates for a relaxed walking pace, excluding long breaks. In the mountains, the terrain and weather can significantly increase the actual time needed. The idea is to set off early, especially in summer, to limit your exposure to afternoon thunderstorms.
- Les Houches → Refuge de Nant Borrant: a warm-up, first alpine pastures, 5–7 hours depending on the alternatives.
- Nant Borrant → Les Chapieux / Ville des Glaciers: open landscapes, important to manage your pace, 5–7 hours.
- Ville des Glaciers → Refuge Elisabetta: crossing into Italy, high-mountain scenery, 6–8 hours.
- Refuge Elisabetta → Courmayeur / Refuge Bertone (depending on option): views over the Italian side, a significant descent, 5–7 hours.
- Courmayeur / Bertone → Val Ferret / La Fouly: valley trail, 6–8 hours depending on where you finish.
- La Fouly → Champex-Lac: an easier stage, useful for recovery, 4–6 hours.
- Champex-Lac → Trient: increasingly steep terrain, forests and balcony trails, 5–7 hours.
- Trient → Tré-le-Champ: gradually returning to the French side, varied terrain, 6–8 hours.
- Tré-le-Champ → La Flégère: views of the Aiguilles and glaciers, technical sections, 5–7 hours.
- La Flégère → Les Houches: completing the loop, a mix of balcony trails and descents, 5–7 hours.
Alternative routes: beauty, difficulty and objective caution
Alternative routes often make for the most beautiful days… and sometimes the most demanding ones. The Fenêtre d’Arpette draws hikers with its rocky scenery and “mountain” character. It requires stable weather, good terrain-reading skills and particular care around rockfalls, which have become more frequent in the Alps as freeze-thaw conditions change at altitude. Another area where caution is needed is around Col des Tufs (between Col du Bonhomme and Lacs Jovets), where unstable sections make it advisable to cross quickly, while staying alert to sounds and movement.
If in doubt, the best decision is often the simplest: stick to the main route or descend into the valley. This isn’t giving up; it’s a way to complete the loop safely.
Thunderstorms: daily planning and useful precautions
On the TMB, summer thunderstorms often arrive in the afternoon. The 48-hour forecast gives you a general idea, but it becomes clearer on the morning of the day itself. One practical strategy is to talk to your accommodation host: have breakfast earlier, set off earlier or arrange a transfer if a ridge is forecast to be exposed to lightning.
Radar apps such as MétéoSwiss are particularly useful for tracking a storm cell as it approaches over the next few hours. They don’t replace on-the-ground judgment, but they help you make clear decisions. If a thunderstorm catches up with you, a few simple rules can make all the difference: avoid high points, don’t shelter next to an isolated tree, keep away from runoff beneath overhangs, move metal objects away from you and insulate yourself from the ground by sitting on your backpack. As a general rule, a thunderstorm is considered over about 30 minutes after the last thunderclap.
With a clear route, alternatives chosen for good reasons and a method for dealing with the weather, the final part of your preparation is health, safety and those small “invisible” risks that can sometimes ruin the return home.
Health, safety and practical tips on the TMB: rescue, water, rockfalls, hunting and bedbugs
On a trek like the Tour du Mont Blanc, safety isn’t a separate topic: it’s a way of hiking. It starts with clear judgment (knowing when to skip an alternative route), continues with planning ahead (setting off early) and extends to the mountain huts (hygiene, rest and discreet vigilance). Claire and Mehdi aren’t aiming to become experts; they just want to adopt habits that prevent 80% of problems.
Rescue and areas without mobile coverage: what to do if things go wrong
The European emergency number, 112, works in all three countries along the route. One important point: if your operator has no coverage, your call may sometimes connect through another available network. Despite this, some sections remain in mobile dead zones. That’s why it’s useful to identify the locations of mountain huts and valley access points on your map: knowing where to descend is often more useful than “looking for a signal bar”.
Satellite devices (beacons, satellite phones and services built into some recent smartphones) add another layer of safety, especially for small groups. They don’t replace the basics: protect the injured person from the cold, manage the wait and communicate clear information (exact location, condition and weather).
Altitude sickness and fatigue: take early warning signs seriously
The TMB stays at moderate altitudes, but some hikers are sensitive to them. Headaches, nausea, dizziness and unusual fatigue are all signs to pay attention to. The first steps are simple: slow down, drink, eat, then decide what to do. If the symptoms persist, descending is the most effective solution. Pride won’t help you breathe.
Rockfalls: an increased risk in the Alps
Warming temperatures and freeze-thaw cycles weaken rocks at altitude. On the ground, this leads to a practical piece of advice: in scree slopes and debris cones, cross quickly without lingering, keep your eyes and ears open, and avoid stopping beneath an unstable slope. This isn’t alarmist; it’s simply good practice on the trail. To understand how some tragic incidents happen in the mountains, reading this article about mountain accidents and risks puts the importance of simple decisions into perspective.
Hunting in September: stay visible and take care off the trail
As autumn approaches, hunting season returns. The rules vary by country and sometimes by valley. If you plan to take alternative routes off the main trail, wear brightly coloured clothing and make your presence known in areas with dense vegetation. A quiet but regular noise is better than taking someone by surprise.
Bedbugs: reduce the risk without becoming obsessed
It’s a sensitive subject, but a real one: bedbugs can appear in mountain huts as well as hotels. The main danger isn’t the bite; it’s bringing the insect home with you. A few habits can significantly reduce the risk: quickly inspect the mattress (look for small dark or reddish spots), keep your belongings together in waterproof bags, avoid spreading clothes and your backpack over carpet or a bed, and notify your host if you suspect an infestation so they can follow the proper procedure.
Some people use a light spray (including diluted tea tree oil solutions) on zips and contact areas, without believing it’s a miracle cure. If you’re concerned after a night’s stay, seal your clothes in a bag and treat them when you get home: freeze delicate fabrics at -18°C for 72 hours, or use high heat on items that can withstand it. Taking these precautions calmly can prevent a lot of complications.
Getting there and back, and building in recovery time
Finally, a successful TMB trek also depends on what you do around it: get a good night’s sleep beforehand, allow yourself some extra time on arrival and plan a “buffer” day afterwards. Some people use the time after the trek to slow down near the water or on gentler routes; others extend their trip with an easy hike. The key is to return without rushing, because a trek rarely ends when you put your backpack down: it ends when your body has recovered.
These health and safety guidelines give you a solid foundation for setting off independently, adjusting your plans and keeping the enjoyment at the centre of the experience, even when conditions change.
Video accounts from other hikers are useful for visualizing what to do in a thunderstorm or fog, and for better understanding how hikers manage their daily timing.
How many days should beginners allow for the Tour du Mont Blanc?
A 10- to 12-day itinerary is often the most comfortable option for a first multi-day trek: shorter stages, better recovery and more leeway in case of unsettled weather. If you’re already comfortable walking for 6 to 8 hours in the mountains, 9 to 10 days may suit you. The key factor is your ability to manage several descents in a row without pain.
Do you really need to book mountain huts well in advance?
Yes, especially in July and August and on the Swiss and Italian sections, where wild camping is very limited. Booking early secures your itinerary. If everything is fully booked, opt for a flexible strategy: overnight stays in the valley, shuttles/buses or slightly adjusting your stages rather than abandoning the trip.
What’s the best strategy for dealing with thunderstorms on the TMB?
Set off early and have a Plan B. Thunderstorms often arrive in the afternoon: an early start lets you cross the passes before the most exposed part of the day. Check the forecast that morning and use a weather radar to track short-term developments. If a storm threatens, skip a ridge route and descend to a valley or mountain hut.
Can you do the TMB entirely by wild camping?
It’s possible, but challenging. Wild camping is prohibited in the valleys concerned in Switzerland and strictly regulated in Italy, which often means using campsites or other accommodation. In France, it is often tolerated from evening until morning, depending on the area, with specific rules in nature reserves. Many hikers choose a mix of mountain huts and a few nights at campsites to keep their packs at a reasonable weight.
How much water should you carry on a typical day?
In normal conditions, 1.5 to 2 litres is often enough if you refill regularly at fountains and mountain huts and temperatures remain moderate. In hot weather or on a drier stage, aim for 2 to 2.5 litres instead. A filter or purification tablets provide an extra safety margin if you need to collect water from a natural source.